Select File >
Reports from the main EBMS menu to open the following reports
window:
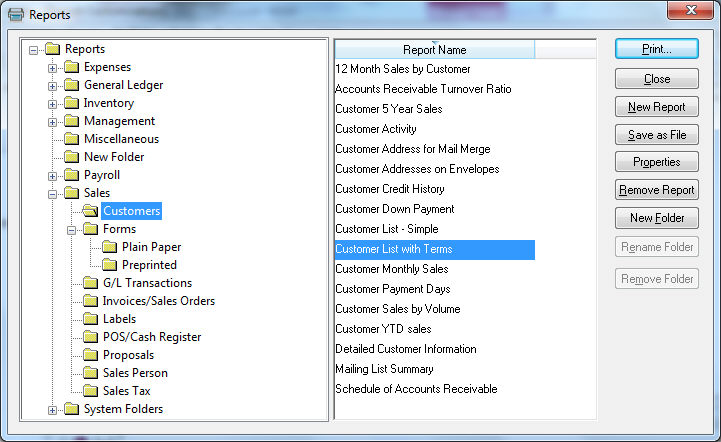
Identify the report that you wish to alter and click
on the Save as File button.
This step will export the report from within EBMS into an RPT file, which will be used by the Crystal Reports software.
Skip the next 2 steps if you are using the simple customization method
using report queries and defaults.
Make changes to RPT file using Crystal Reports and save a copy of the custom report in a directory or drive in case EBMS must be reinstalled because of data loss or corruption. See Crystal Reports manual for details on editing or changing report parameters. Eagle Solutions offers training classes for Crystal Reports training but can not offer free phone support for reports that were customized by the user or other third party services.
RENAME FILE It is very important to rename this edited file if the original was a standard EBMS file. If a custom report is identified with the same file name as a standard EBMS file, the report will be overwritten the next time EBMS reports are updated.
Click on the New
Report button from within
the Reports menu window and open the RPT
file that was edited or changed.
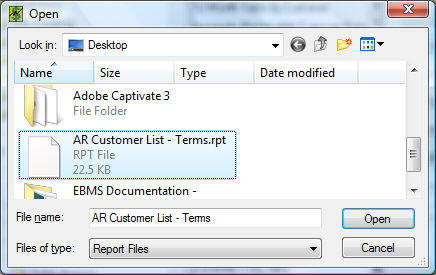
Click on the Open dialog to add the report and the
following message will appear if the report file is not unique:
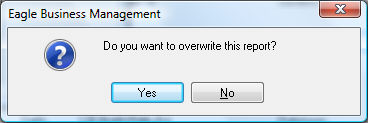
Click on the No
button if the new report is not a replacement for an original custom
report and cancel the wizard.

Rename the Displayed Report Name in order to identify the custom report from the original standard EBMS report.
Set the appropriate security settings. Click the OK button to complete the process.
Click on Set Query to define a query for the report. This powerful feature can be used to set user defined queries. For example, the user may want to print only invoices with a specific ship date or other criteria not listed within the Report Options. Review the Features > Advanced Query Options section from the Main EBMS documentation for details on configuring a query for your report. Click on the Save as Default button at the bottom of the print dialog to save the query for future printings. Review the Printing a Report section for more details on defaults and other print dialog options.